Add the source image
Choose the version with the best available focus, framing, and original detail. A cleaner source gives the editor more useful information to work with.
Image refinement
The upsampler ai image editor helps you refine a soft, compressed, or undersized image while keeping the original subject and composition recognizable. Start with a source image and guide the result toward the detail you need.
Choose the route that matches your starting point: create an image, refine an existing one, or follow a practical editing workflow.
Create a new visual from a written direction when you do not have a source image yet.
Follow a concise workflow for preparing a source image and reviewing the result.
Browse practical image examples to compare the kinds of changes an upscale can make.
An AI editor can improve visible detail, but it cannot recover every missing fact or guarantee a perfect match for every source image.
When a face, label, texture, or object is heavily blurred, the editor may create a plausible-looking result rather than recover the exact source.
WorkaroundUse the clearest original available and check important details at full size.
Small cleanup tasks such as removing a specific mark, correcting an unusual color, or rebuilding a damaged edge may still need manual work.
WorkaroundUse the refined image as a cleaner starting point for a dedicated editor.
Compression blocks, film grain, text edges, and repeated patterns can be interpreted differently during refinement.
WorkaroundReview lettering, logos, and fine patterns before publishing.
Increasing clarity does not automatically improve distracting framing, poor lighting, or a subject that is already cropped out.
WorkaroundCrop or retake the source first when composition matters more than resolution.
The route is easiest to use when you separate the source image, the desired change, and the final quality check.
Choose the version with the best available focus, framing, and original detail. A cleaner source gives the editor more useful information to work with.
Explain whether you want clearer texture, sharper edges, more readable detail, or a more natural finish. Keep the direction tied to the actual image.
Compare the refined image with the source at the areas that matter most, including faces, text, product edges, and repeating textures.
The right workflow depends on whether you already have an image worth preserving or only have an idea to develop.
Existing-image editor
A photo, scan, screenshot, or other source image
New-image generator
A written concept or visual direction
Existing-image editor
Refine visible detail while retaining the source
New-image generator
Produce a new visual based on instructions
Existing-image editor
The original framing remains the reference
New-image generator
The composition is developed from the prompt
Existing-image editor
Soft product photos, old images, and low-detail assets
New-image generator
Concept art, variations, and fresh visual ideas
Existing-image editor
Check recovered-looking detail against the source
New-image generator
Check whether the generated scene follows the brief
Existing-image editor
Switch when the source lacks the subject or framing you need
New-image generator
Switch when you already have an image that should be preserved
A before-and-after view is most useful when you inspect the same edges, textures, and small features rather than judging only the overall impression.
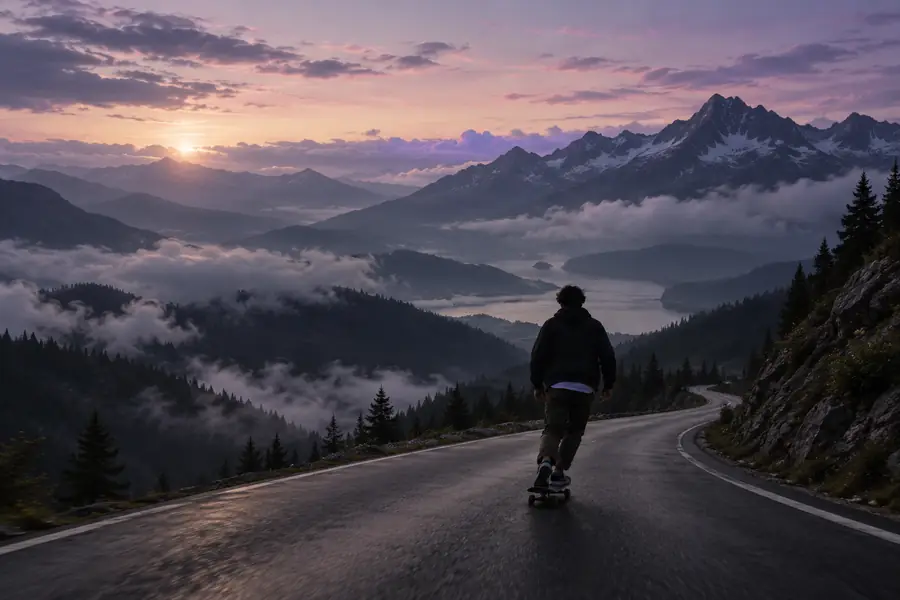
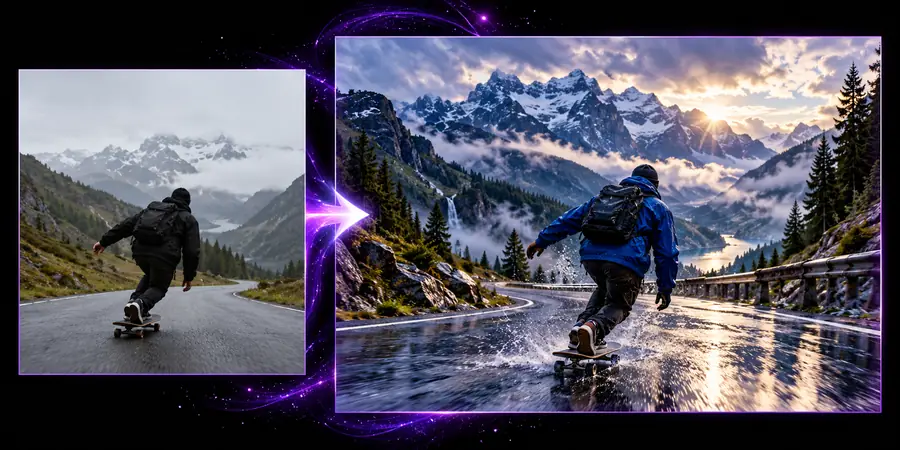
Use the divider to inspect detail changes.
Different people bring different source images to the workflow, but each benefits from checking the same core question: does the result remain faithful to the intended subject?
A product photo looks soft after being resized for a catalog or social post.
A cleaner image can make edges, materials, and product details easier to inspect before publication.
upsampler examples freeA scanned photograph has uneven focus and limited visible detail.
The editor provides a more legible working copy while keeping the original scan available for comparison.
how to use upsamplerA reference image is useful but too small to study for texture, shape, or surface treatment.
A refined version can support closer visual review before the designer creates the final asset.
upsampler ai image generatorA still frame or older image needs more visible clarity for a larger layout.
The editing route offers a focused way to improve the source before placing it into a wider content design.
upsampler image to videoBring a source image, describe the improvement you want, and review the result where detail matters most. Keep the original nearby so you can judge enhancement against the evidence in the source.
An AI image editor analyzes an existing image and applies a requested refinement, such as clearer detail or improved sharpness. It works from the source rather than creating an entirely unrelated scene.
It may improve the appearance of a mildly soft or compressed photo, especially around visible edges and textures. It cannot reliably recover detail that was never captured, so heavily blurred areas should be checked carefully.
The source composition remains the main reference in an editing workflow, but small details can be interpreted differently during refinement. Compare the result with the original whenever framing, text, faces, or product shapes are important.
It can be useful for preparing a soft product image for closer inspection or a larger layout. Review logos, labels, straight edges, and material textures before using the result commercially.
Use an editor when you already have an image whose subject or composition should remain recognizable. Use a generator when you want to develop a new visual from an idea instead of refining an existing source.